
You've got less than a week before Valentine's Day, so it's time to get going on those lovey-dovey cards and projects. Today on the Elizabeth Craft Designs blog you'll find all sorts of Valentine inspiration from the design team including my Flowers and Strawberries 5 x 7 card. I designed this card with someone very special in mind and I hope she likes it. She's always been so very sweet and kind to me over the years and I just wanted to show her how much she means to me.
Here's how you can create this lovely card too...

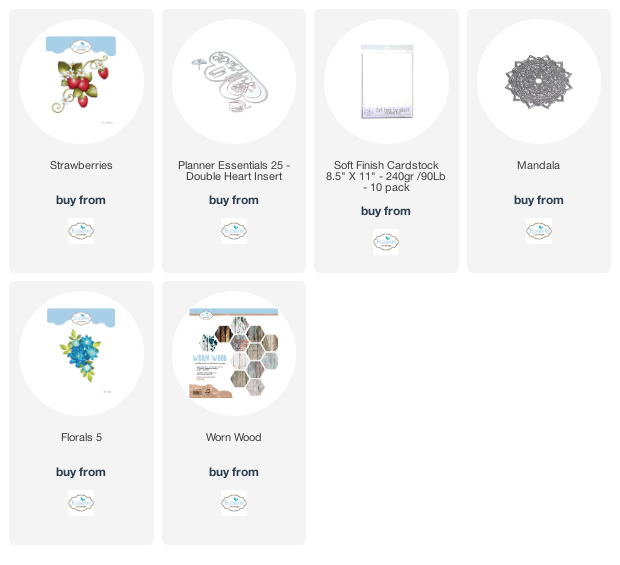
Die-cut several sizes of flowers from the Florals 5 set out of White Soft Finish Cardstock and softly color the centers with Tattered Rose Distress Ink or any soft pink ink.

Shape each petal by placing them face down on a soft mat and stroking them with a ball stylus. Then flip them face up and press firmly into the center of each flower straight down into the mat.

Glue the flowers together as desired. I like to alternate the petals a little to give the flowers a fuller look.

Die-cut several leaves from Florals 5 and also from 1777 Strawberries. Ink with two or three shades of green ink, then spritz with water and heat set with a dryer. That's how you get those lovely spots and flecks that look so natural.

Die-cut several strawberries and stem tops. Blend some green inks onto the stem tops and spritz with water. Once dry, ink the outer edges with a medium brown ink. To give the strawberries that realistic look, start with a soft yellow ink over each one, then swirl a red ink as you blend outward, and an even darker red for the outermost edges. Lay each strawberry face down onto a soft mat and use a large ball stylus to "stir" each one so they begin to cup a little. Place foam tape onto the back to pop them up and keep that rounded shape. If desired, color in the seeds with a yellow marker. Adhere the stem tops to each strawberry.

Die-cut two heart stems from Planner Essentials 25 Double Heart Insert and color with pink inks. Darker for the hearts and lighter for the stems. Spritz with water and heat dry.

Cut a card base from brown cardstock for a 5" x 7" card, 4 3/4" x 6 3/4" patterned paper (I used Woodland Friends from Graphic 45), then a 4 1/4" x 6 1/4" woodgrain cardstock. (I used the Worn Wood paper collection from ECD). Finally, die-cut a doily from white cardstock using the 1760 Mandala die. Assemble these to the card.

Layer the flowers, strawberries, leaves and heart stems as you desire. It's so much fun to arrange them and try different placement.

Keep arranging the elements until you're happy, then adhere in place. Sometimes, I like to arrange the pieces and take a photo so I can lift everything away and then follow my photo to adhere them back in place.

Stamp a sentiment onto a small tag and adhere to the lower right. I used the "Make a Wish" stamp set from Gina K. Designs.
I hope you enjoyed this tutorial, and I hope my friend Barbara likes her card. Have a great day!
Oh, so yummie looking strawberries... What a cute and detailed card! Thank you for sharing, who you did it.
ReplyDeleteBig hugs from Germany
Anka
a.k.a. HirschEngelchen
Thank you so much!
DeleteLovely work of art
ReplyDeleteSo beautiful. Found your site from another crafter! Thanks for the tutorial and all those videos!
ReplyDeleteThank you Joan and the crafter who sent you. I'm glad you're enjoying everything here.
Delete