
Here's how I made this card...

Join two large black tags. I used black masking tape, but you could also use a 1-inch strip of black cardstock scored down the center if you prefer. If using tape, apply some to both sides. If using cardstock, just put it on the inside of your card.

Trim any excess tape to match the shape of the tags, then adhere two 14" pieces of ribbon, one to end side as shown. These will get covered by paper later.

To make gold accents, place Graphic 45's Architectural Washi Tape (Gloss Gold) onto the top edge of a piece of printer paper and burnish it well with a bone folder. (Yes, if you prefer gold cardstock, you can use that, however I love the shade and finish of G45's washi tape). By adhering the tape to paper, you can now die-cut it!

Now you can die-cut this beautiful accent border from G45's "Policy and Decorative Dies" set.

Continue adding rows of the gold washi tape (butted together with NO overlap) to the printer paper, burnish, then die-cut more elements. The seams will be obvious now, but when the card is finished they're hardly noticeable.

Die-cut the fancy frame piece from thick black cardstock and don't pop out any of those inner pieces. We wan those to show through the gold one.
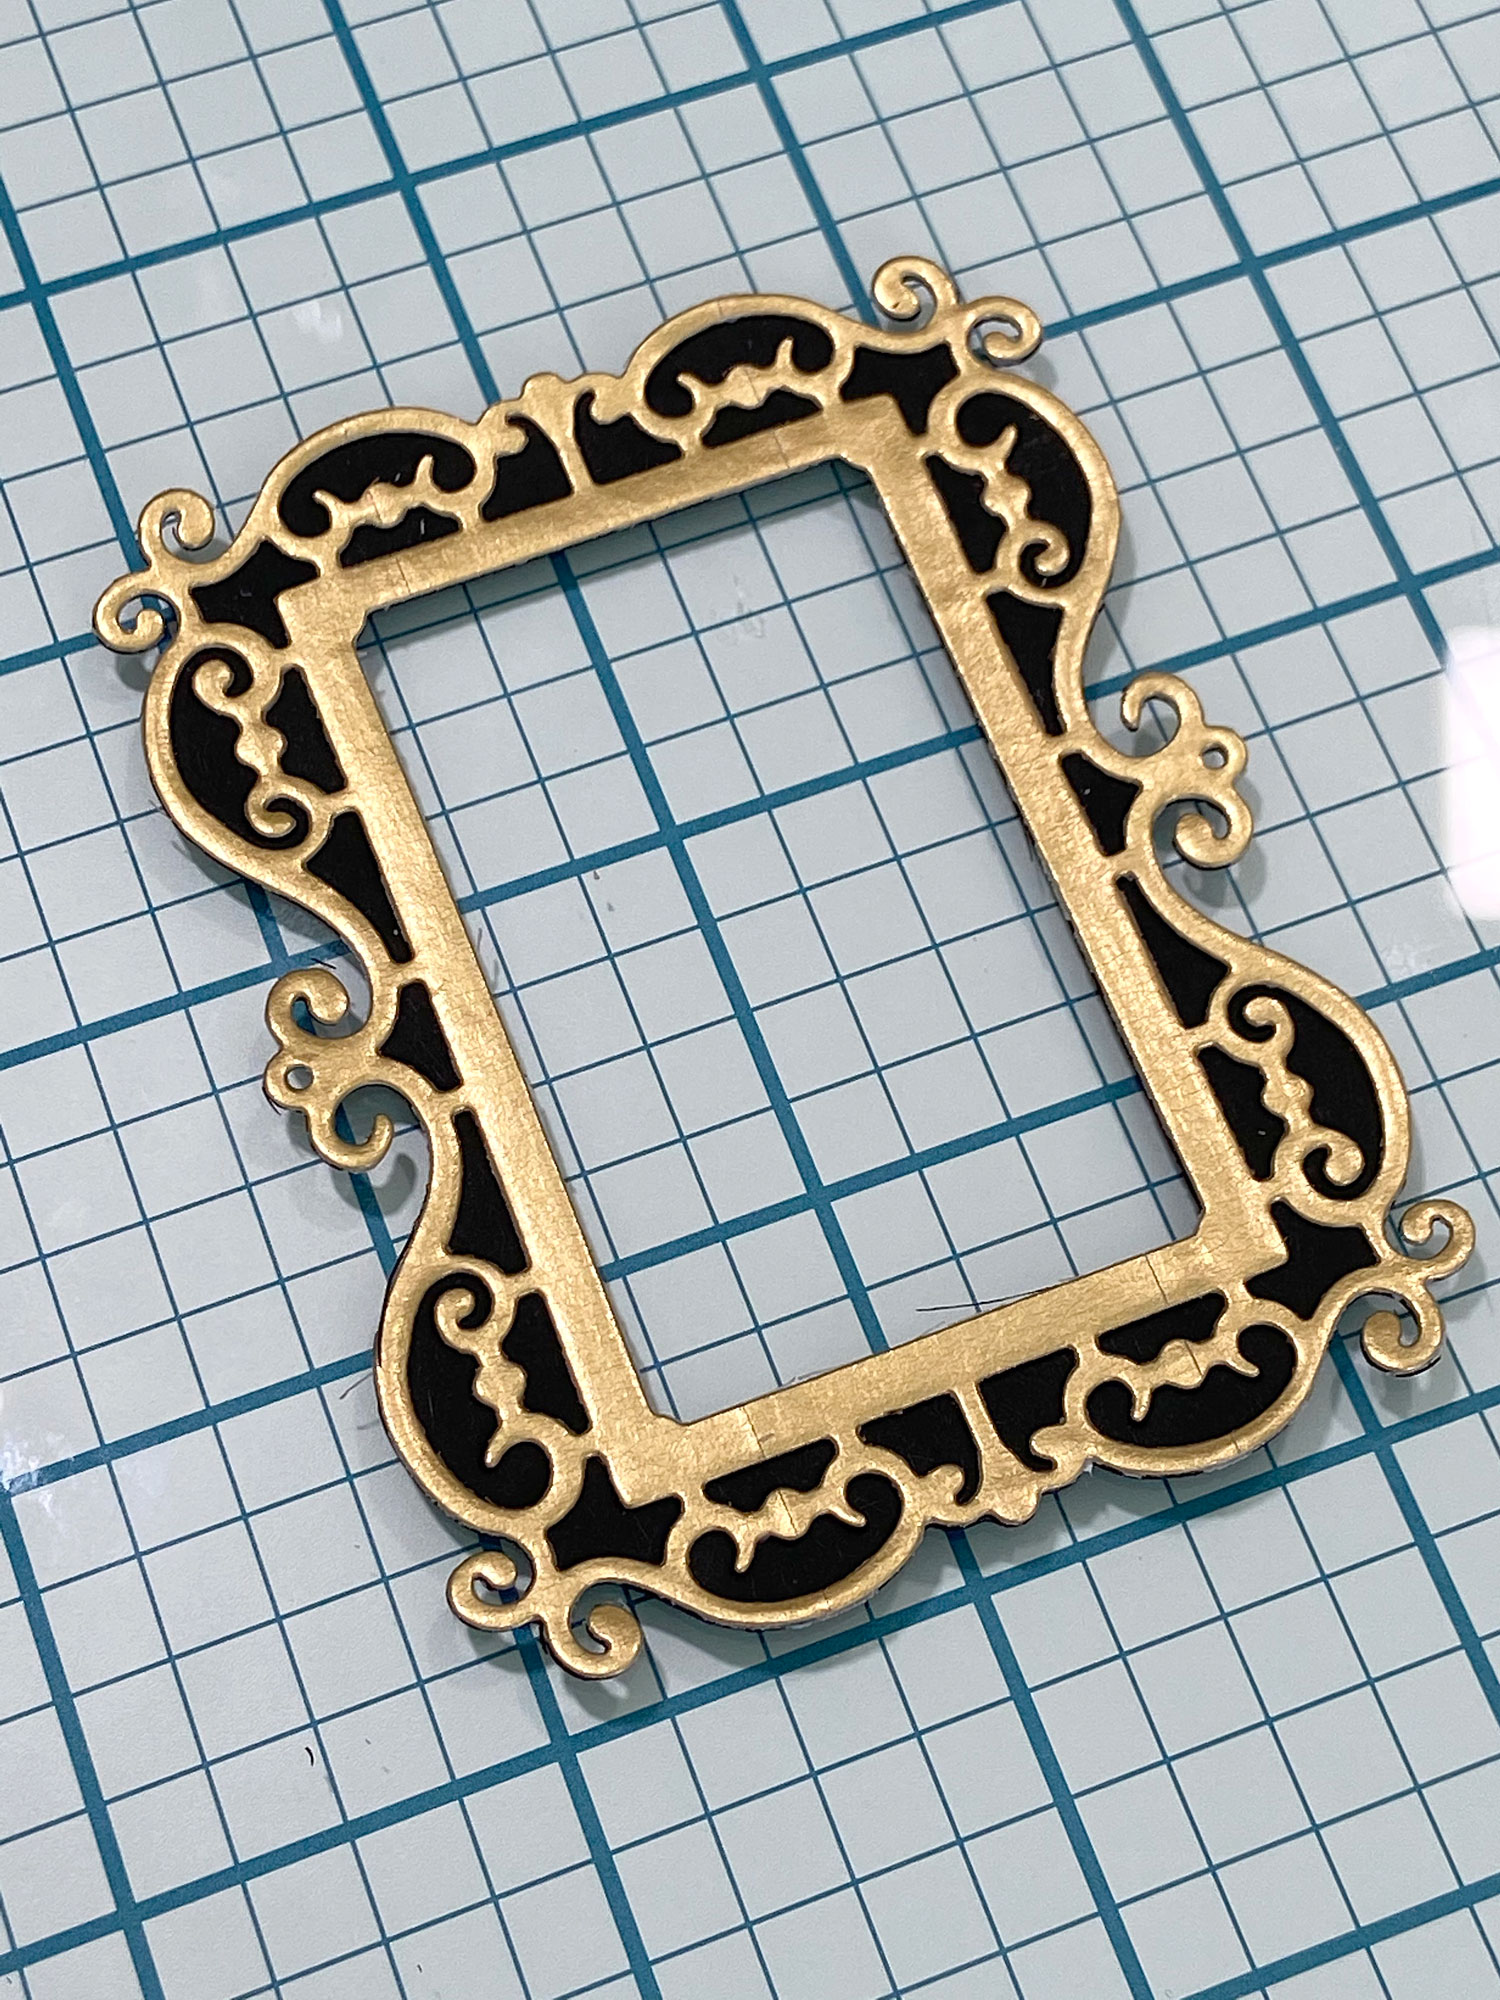
Adhere the gold frame to the black one. My black cardstock was thick enough that the inner pieces stayed intact without falling out, but if yours isn't you can add some scotch tape to the back side to keep them in place.

Cut out the couple and adhere into the back of the frame. Use the Large Tag Die to cut papers from the 8 x 8 Mon Amour collection. The die is bigger than 8" so choose combinations of papers like I've shown here. To separate the two papers, you can add a border strip. This also adds a bit of red to the card. Adhere the photo corners (I trimmed mine so they're rounded like the tag paper) and the decorative border, trimming as needed to fit.

Use foam adhesive to pop up the frame, then adhere some chipboard pieces for added embellishment. I've rubbed Vintage Gold Metallique Wax to the outer edges of my chipboard pieces before adhering. This gives a nice finished look that ties in with the feel of this card.

Again, use the Large Tag Die to cut papers. You can also slice a 1/8" strip from your washi paper for a gold accent. Fussy cut the couple and ink the edges.

Adhere these papers, washi and fussy-cut to the inside of your card.

Cut a rectangle (or die-cut a postage stamp shape) from a neutral paper in the collection and write or stamp your sentiment. Add a cluster of fussy cut flowers along the bottom edge, if desired.

Arrange some red Roses and leaves as desired and adhere in place with strong glue.
As you can see in this photo, I eventually added another 1/8" gold strip across the top of the card.

Here's a close-up of the rose cluster and leaves and spring on the upper left corner of the card...

...and the cluster along the right edge. I've used most of the smaller roses for this card and saved the large ones for another project. To mail a card like this, I suggest skipping the envelope, wrap the card up in pretty tissue paper, and mail in a padded envelope. My parents received their card yesterday and said it arrived in pristine condition!
Thanks for stopping in today for this tutorial. Using Graphic 45 tags makes this slimline card extra special. Here's a list and links to all the supplies I used...
Graphic 45 Mon Amour papers and chipboard
Beautiful! Thank you for the tutorial.
ReplyDeleteThanks, and I’m glad you enjoyed the tutorial.
DeleteLove this card, Annette! A beautiful card for a beautiful couple celebrating 59 years! Happy Anniversary to your parents!
ReplyDeleteThanks so much Susan.
DeleteWhat a fabulous card!! Love it! ❤️
ReplyDeleteThanks!!
DeleteThanks Glenda!
ReplyDeleteBeautiful card and thank You for the inspiration!
ReplyDelete