Begin by cutting a black card base for a 5" x 5" card then a 4 3/4" x 4 3/4" kraft card stock piece. I folded my card at the top, but you can decide which way you like yours to open. Then, use the rounded corner square from the Planner Labels die set (1658) to cut a bunch of diamonds from your favorite paper. I used Graphic 45's Good 'Ol Sport 8" x 8" papers. (Note: pay attention to the print direction on your papers, as you'll be cutting diamonds rather than squares.)
Start at the center with your first diamond and adhere it slightly hanging off the top. (Note: you can measure and figure this all out mathematically if you like. I just eye-balled it.)
Using your first diamond as a guide, start adhering more diamonds leaving a scant 1/8" inch between. (Tip: it's helpful to lay out all your diamonds ahead of time off to the side so you can plan the placement of colors and prints.)
It's also helpful to lay a ruler down to keep your diamonds straight, neat and tidy.
Keep on going. Before filling in the smaller spaces around the perimeter, trim off the overhanging pieces. These extra bits are just enough for those smaller spaces.
Trim off all the overhanging pieces, ink the edges and adhere this unit to your card base. You can adhere it flat or pop the whole thing up with foam adhesive. Your choice.
Die cut the pick-up truck pieces shown using the Planner Essentials 16 die set. (This is actually part of a Christmas die set!) The solid truck should be a slightly darker shade than the intricate one.
If you plan to pop up your truck with foam adhesive like I did, you'll need to punch two 5/8" circles from scrap paper to go behind the open black circles.
Adhere the scrap circles behind the black one, then adhere in the "rims" and the centers as shown. I love using my Fine Pointed Tweezers for detail work like this.
Add foam adhesive to the back of the truck and the wheels and adhere to your card front.
(Tip: You can put some scrap acrylic or vellum behind your window for a fun effect. I left mine open.)
To make a side-stitched pennant, die cut the label from the Planner Labels die set, then trim off the bits as shown here. Ink the edges.
Die cut another of the same label from black card stock. Add DAD stickers if you have them. (If your card isn't for Dad, you can always modify this step as needed.) Tie some black ribbon through the chipboard tag, then add black card stock behind your pennant.
Layer the elements onto your card front, using foam adhesive for added dimension as desired.
Don't forget the inside of your card. The accents I used here are from the Good 'Ol Sport sticker collection.
Your card is done!
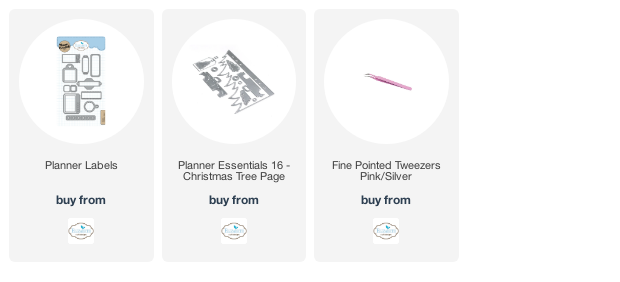
Thanks so much for stopping in today. Below are links to the products I used for your convenience. I hope you have a lovely Sunday.


Comments
Post a Comment
Thanks for leaving a comment! If you have a question you would like answered, please e-mail me at AnnetteMGreen@gmail.com