Over 55 consultants are participating in Close To My Heart's Stamp of the Month Blog Hop this month, and with a new Idea Book filled with wonderful new goodies (Artiste Cricut cartridge, new colors and beautiful papers, just to name a few) this should be a very inspiring one!
August's Stamp of the Month is called "Baroque Borders" and has five distress-style flourishes to choose from. You can view all the images in this set in the right hand column of my blog. When you place an order of at least $50, you qualify to get the Stamp of the Month for only $5.
If you are already hopping along through the Blog Hop, you came here from Lisa Sargent's blog. Keep on scrolling through my post to the end to see where to hop to next.
Meanwhile, check out the 5 x 7 card I created with this beautiful stamp set.

The main stamped area is Cocoa embossing powder on our new Ruby cardstock.

I started the card by repeat-stamping one of the images with Ruby ink in a row onto our new Champagne card stock. Using a stipple tool, I dabbed some specks with Chocolate ink. (My card base is Cocoa cardstock.)
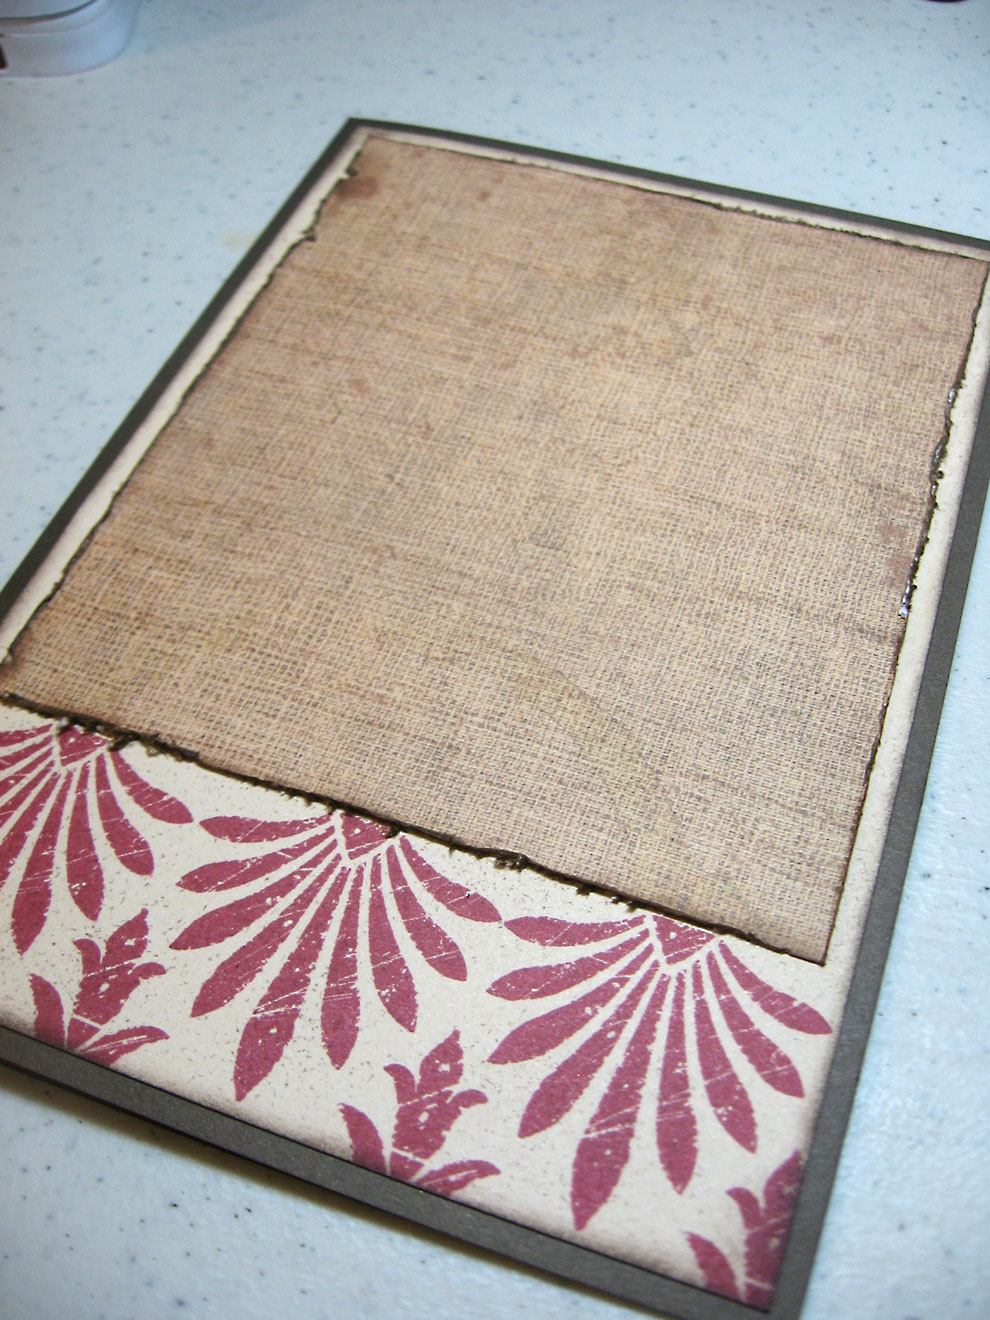
I edge-distressed a piece of the new Scholastic B&T paper and inked the edges with Cocoa.

Also from Champagne card stock, I cut this pretty frame on the new Artiste Cricut cartridge. (3 1/2 inches, Accent 4, pg. 60) I speckled Chocolate over the top like I did earlier.

Foam tape on the back to pop it up.

This was one of those happy accidents: one of the new Memo Assortments fit inside the frame perfectly! I added some colored seam binding (Creme Brulee and Olive) to the memo tag and popped it up with foam tape.

Happy Birthday was cut from the Artiste cartridge from Cocoa cardstock at 1-inch (pg. 70)
The flower is from the cartridge as well as the leaves. I used Creme Brulee and Olive cardstocks for those. The flower is one of four new rolled flower cuts. (I used Accent 2, pg. 54 at 2 1/2 inches). Leaves are 1/2 inch, pg. 54 as well.

I added more of the colored ribbon along the bottom, scrunching it up as I glued it down.

Then to finish off the raw edges, I added some (retired) Antique Copper photo corners. (I'll surely miss those.)
Here's another look at my card.
Your comments are appreciated! Thank you. Now, keep on hopping through the Blog Hop and check out what Jen Rubio has come up with. I'm sure it's amazing, as usual!
Pretty! Thanks for sharing!
ReplyDeleteLove the picture frame!
ReplyDeleteReally awesome card! I love the tag in the frame, so cute!
ReplyDeleteLove the card! TFS!
ReplyDeleteSo many lovely details!
ReplyDeleteLovely!!
ReplyDeleteSuper cute!!
ReplyDeleteGORGEOUS!!!
ReplyDeleteBeautiful! Love the colors in the embossing! Fab frame as well! Great layers!
ReplyDeleteThis is so nice, so beautifully designed. How much time you have spent for completing this design?
ReplyDelete