

I began by cutting ALL the pieces you see here from 90 lb Soft Finish White Cardstock. (Dies are listed below) I colored the pieces with a mix of alcohol markers and Oxide inks as desired. Where color is solid like the sunflower, that's when I used the markers. And where you see blending, that's with the Oxides. In some cases, I used both together. It's really up to you and I encourage you to play around with what you have.

Next I cut a card base from dark brown cardstock. My decorative papers are from an older line from Authentique called "Frontier." I used my pinked scissors to cut the gingham paper to resemble fabric.

I layered up all my papers first, stitched through everything on the sewing machine using dark brown thread, then adhered the unit to my card front.

Here's a close-up of the stitching. I love that extra touch on my cards.

Now it's time to build our cute scene. Even though I have the farmer die (and he's SO cute!) I decided it would be hilarious if a chicken were driving the tractor instead.

And since I knew my stamped phrase was going to be "Just Chicken In", I added more chickens. This tall sized card is perfect for my rooster to be perched on top of the tractor. I scattered a few eggs around the bottom with hopes the tractor won't run them over.

Onto ivory cardstock, I stamped my sentiments with black and then red inks. The brown frame comes from the Sidekick Essentials 14 set "Bonjour Fold-Out". Then I adhered my sunflower coming out of the top.

Everything is nice and flat and easy to mail.

For the inside, I cut more decorative papers from the collection and did a bit more stitching.

Here's a little close-up of that.

After adhering the main background papers inside my card, I added more of the die-cut pieces.

I created a second sunflower and added it to the milk jug, then stamped the chicken silhouette.

Here's another look at the finished card front.

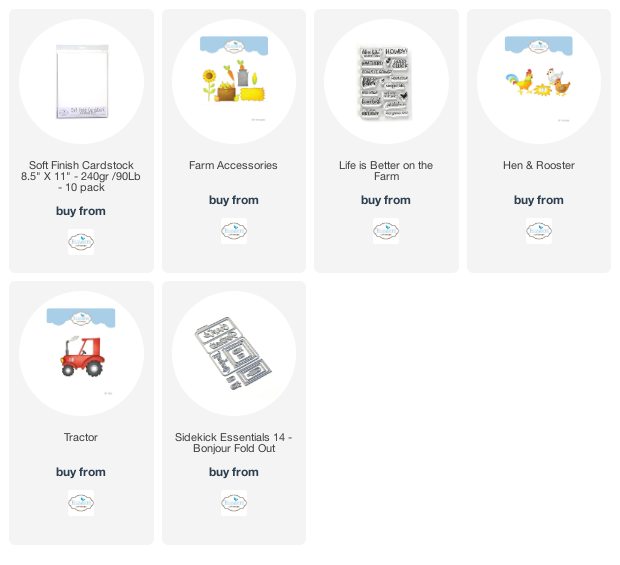
And the inside panels. This was SO much fun to create. It's really hard to stop once you get started. I hope you enjoyed the card and give it a try yourself. Links to the products I've used are below. Simply click on the images and it'll take you directly there.
Thanks for stopping in!
Comments
Post a Comment
Thanks for leaving a comment! If you have a question you would like answered, please e-mail me at AnnetteMGreen@gmail.com