
It's time for another Elizabeth Craft Designs group post and our current theme is FLOWERS! Perfect timing, too, since ECD has just released eight new flower dies and this wonderful pizza box. Be sure to hop over to their shop and check them all out. They are really fun to layer up and make your own beautiful bouquets. Several designers have created flower projects as well, so be sure to check those out on the blog today. For me, I'm sharing a little tutorial on how I created my flowers and this wonderful gift box, perfect for Fall time.

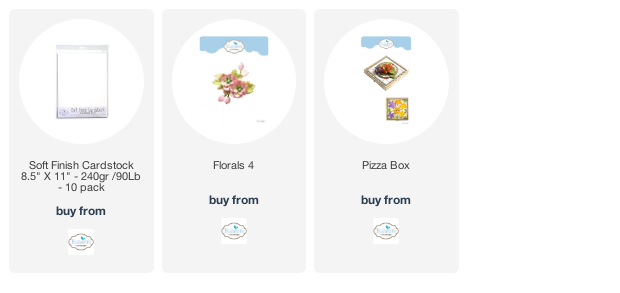
I've featured the Florals 4 die. First, die cut the three flower pieces three times from white cardstock, like Soft Finish Cardstock (see product links below). For my flowers, I wanted a Fall feel, so I used warm colors. Blend a honey-yellow ink to the outside edges of each.

Using a smaller blending tool, blend a medium orange in the centers and work your way a little to blend the two colors.

Using an even smaller blender, or a cotton swab like I did, blend some red to the centers of the smallest petal pieces, then to the outer edges of all the pieces.

Using the same type of coloring method, blend color onto the buds and the leaves. I like to always use at least two tones of a color rather than just one, as you can see in the green leaves.

To really give that Fall feel, add a bit of red ink to the leaves.

Onto a cushioned mat, lay the flower petals face down and "stir" with a large ball stylus. If you don't have one, you can use a small spoon to get a similar effect. Your goal is to soften the paper fibers and make little "crinkles" on the outer edges.

Flip the flower face up and repeat. It really starts to look like a real flower petal.

Shape the remaining pieces in the same manner. If desired, you can use a red marker to draw in some lines to the flower centers. Add a center to each flower using whatever you have on hand. I used an adhesive pearl for mine. Pearl drops are great too, or glitter, or a large bead.

Die cut the pizza box and the pieces shown here. (There are even more pieces to play with in this set!) I used the Worn Wood paper collection for my box and a burnt orange cardstock.

Assemble the box and layer up the detail pieces. I used foam tape for added dimension, and of course inked all my edges with a dark brown ink.

Now you can adhere your flowers, buds and leaves how you like!

I guarantee once you make one, you'll want to make a bunch! Wouldn't this be a great little teacher gift, or hostess gift for Thanksgiving?
Thanks for stopping by, and remember, comments are disabled on the ECD blog, so be sure to leave your comments here instead. Here's a list and links to all the products I used today. Thanks for stopping in!
Comments
Post a Comment
Thanks for leaving a comment! If you have a question you would like answered, please e-mail me at AnnetteMGreen@gmail.com