Need a unique idea for a Valentine card? Try this pretty tag and pocket combination. It's always fun to add some interaction to cards and this design is especially nice for tucking a love note or a gift card inside. If you have a pretty easel stand, it can be displayed on a shelf year-round. (Keep reading to see how I created my easel stand from cardstock.)
I've used Planner Essentials dies for this unique card idea along with Graphic 45's Love Notes collection. (A detailed list of supplies is at the bottom of this post.)
Inside, I've built another little pocket and inserted a Valentine's gift card. It's also a great place to tuck a spicy love note! Read on for the tutorial so you can make your own...
Cut sturdy black cardstock 4" x 7" and pattern paper 3 3/4" x 6 3/4" and adhere together. Die-cut pattern paper using the diagonal pocket in the Planner Essentials 26 - Planner Pocket 3 set. Die-cut the two heart charms using Planner Essentials 25 - Double Heart Insert set, once from black cardstock and the other from pattern paper. Adhere to top edge of pocket and trim the excess.
Fold a 7" x 6 1/2" piece of black cardstock in half to get a 3 1/2" x 6 1/2" size. Die-cut the large tag, positioning the left edge just off the fold as shown. You're creating a tag-shaped card so you want to keep that folded side intact. If you die-cut it, you'll end up with two black tags. Duh.
Open out the tag/card and adhere die-cut papers to the front and back. I've inked the edges softly with black ink.
Flip the tag/card over to the inside and die-cut more papers and a topper piece. (Note: You'll have to trim a 1/16" off the side of each tag that meets at the fold to reduce bulk so your card opens and closes easily.)
Before adhering the pocket element onto your base, it's important to check the fit of the folded tag/card first. The bulk of the tag made it a super tight fit, so I simply adjusted the scored folds a bit on the left and right of the pocket to make a little more room before gluing it in place.
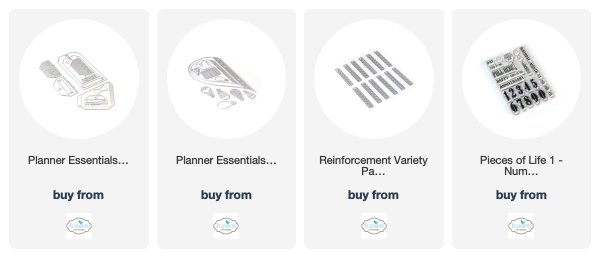
To dress up the tags' holes, die-cut some reinforcers for each side in colors you like. Stamp the reinforcers before adhering in place. I've used the Reinforcement Variety Pack die set and Pieces of Life 1 - Numbers and More stamp set.
I created a simple pocket by hand for the inside so I had a place for my gift card. It's also a perfect spot to write a short message. For fun, you can stamp a Valentine phrase in the background as a secret little surprise when a note or gift card has been removed from the pocket.
Onto the front of the tag/card die-cut a stitched banner and stamp as desired. I've used an old favorite stamp set from Close To My Heart called "Because I Love You." This is also one of the sets I used on the red-striped pocket, along with "Pure Love" from CTMH. Die-cut the fold-over tab from black cardstock. Attach to front and fold over to the inside. I affixed a puffy gold heart sticker I had in my stash.
Close the tag/card and pull some pretty ribbon through the holes and tie into a bow. Slide the tag into the pocket.
Just for fun, I created this great little card stand. Elizabeth Card Designs has a die like this, but I don't own it yet. I'll list it below if you're interested. Since I needed to get this mailed off soon, I used an SVG file on my Cricut machine. It's double thick in its design, so it's perfectly sturdy for holding cards like this. Get it for free here.
I hope you've enjoyed this unique Valentine. Make sure to check out all the other great ideas from the Elizabeth Craft Designs team for more inspiration for Valentine projects.
SUPPLIES USED:


Thank you Annette for always sharing your wonderful ideas with everyone. You certainly are an inspiration to all of us.
ReplyDeleteThanks so much Barbara. So glad you feel inspired and like the projects. My heart goes into each and every one.
Delete